Frequently Asked Questions

Below, I am happy to answer a number of frequently asked questions. Do you have another question? Contact me on Discord!

3D Printers

My first year of miniatures were printed on a Bambu P1S, but when toolchangers became a thing, I upgraded to a Snapmaker U1 and later a Bambu H2C.

If you’re a beginner, I can recommend pretty much the entire Bambu Lab Lineup. They’re easy to use, reliable and require very little tuning. If you’re comfortable with a slightly less streamlined workflow, I’d also look at the Snapmaker U1 and the Prusa Core One + INDX 8-tool.

Read more about my recommendations in this article.

This might surprise you, but I use a standard 0.4mm nozzle. I want everyone to be able to 3D print my miniatures as easy as possible, so I make sure they work on a standard nozzle.

If you’re interested in printing with a smaller nozzle, read more about my recommended settings in this article.

Absolutely not, but you’ll have to paint them yourself!

Actually, SuperPrints minis and other miniatures designed for FDM usually have bigger, more distinct shapes and edges than resin minis. This actually makes for a great canvas. Many people who have painted my minis have mentioned that it’s surprisingly easy to do. In fact, much easier than realistic resin minis.

Absolutely! Every release includes single-color STL files that can also be printed in resin. I design primarily for FDM, though, so my preconfigured settings and print recommendations are focused on FDM printing.

Printing & Settings

For SuperPrints models, my standard starting point is:

Setting

Recommendation

Nozzle

0.4mm

Layer height

0.12mm

Supports

None

Infill

Gyroid

Seam

Nearest

Flushing volume

0.85

Filament

Matte PLA

The important part is that SuperPrints files are already configured for these settings in Bambu Studio. So in most cases, you can simply open the 3MF file and print it. You don’t need to spend hours tuning your slicer.

It varies enormously depending on the model, printer and number of colors. On a single-nozzle multicolor printer, some of my minis can take over 24 hours. On a toolchanger they’re generally around 4-6 hours, while single-color prints are often only 1-2 hours.

That said, there are multiple ways to effectively reduce print time and filament waste dramatically. Read more about those in this article.

SuperPrints colors are built as separate geometry, so don’t use the Paint Tool! Select the individual parts in the Object/Feature Tree and assign your filament colors there. This gives you much cleaner color boundaries.

Here's a short video illustrating this.

I use Matte PLA for almost all of my miniatures. It hides layer lines extremely well and gives the models a much cleaner finish straight off the plate. Regular PLA works too, but I highly recommend trying matte.

Nope! Occasionally I’ll clean up a tiny bit of stringing with a quick pass of a small kitchen torch, but that’s about it. SuperPrints are designed to come off the plate ready for battle.

All my minis are sculpted at 40mm scale because it’s the sweet spot for clean results on a standard 0.4mm nozzle while still fitting a standard 1-inch grid. If you know what you’re doing and have a smaller nozzle, you can absolutely scale smaller.

Here's a short video illustrating this.

Yes! If you prefer more traditional 28mm / 32mm tabletop minis, try printing them around 75% scale. For the best results at that size, I recommend a 0.2mm nozzle and 0.08mm layer height.

It’s insane how much detail you can get out of these minis that way.

Nope! Almost every SuperPrints miniature is designed to print completely support-free. I design the poses and geometry around FDM from the beginning specifically to avoid them. On the rare occasion a model does require support, I’ll clearly mention it.

Want to know how that works? Read more here.

On a single-nozzle multicolor printer: yes, it can be. Every filament change requires some material to be purged. You can dramatically reduce the waste per miniature by printing multiple models at once or eliminate most purge waste by using a toolchanger.

If waste is your main concern, you can also print the single-color STL and paint it yourself.

More tips & tricks on how to reduce purge waste on single color printers in this article.

Start with your build plate. Most failed minis I see are caused by poor bed adhesion. Make sure the plate is clean and avoid touching the print surface with your fingers.

If adhesion isn’t the problem, check your filament. Moist PLA can cause stringing, inconsistent extrusion and poor surface quality.

I’ve put my full troubleshooting tips in this article.

SuperPrints

The best way of downloading SuperPrints minis is through Patreon. The membership will not only give you a brand new mini every week, but also the 6 latest mini releases at any point in time, all player characters and adventurer minis, a selection of archived minis and a 40% discount on all archived minis in the Patreon Shop.

Joining the SuperPrints Patreon gives you instant access to the current collection of miniatures, plus new releases as they’re added. What’s included changes over time, so you can always see the exact models currently available on the Current Rotation page or in the Download Hub.

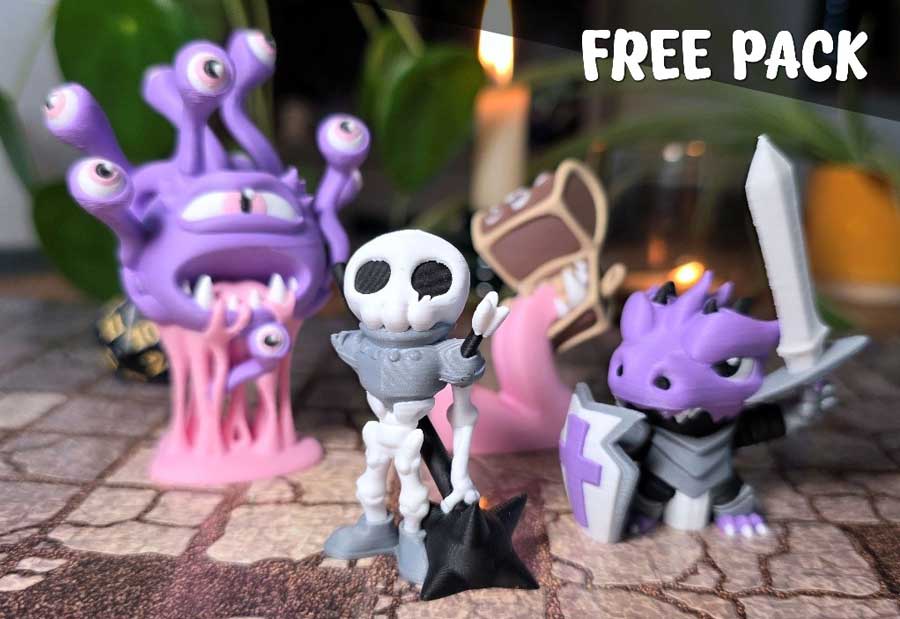
Abolutely! You can try the FREE SuperPrints Starter Pack.


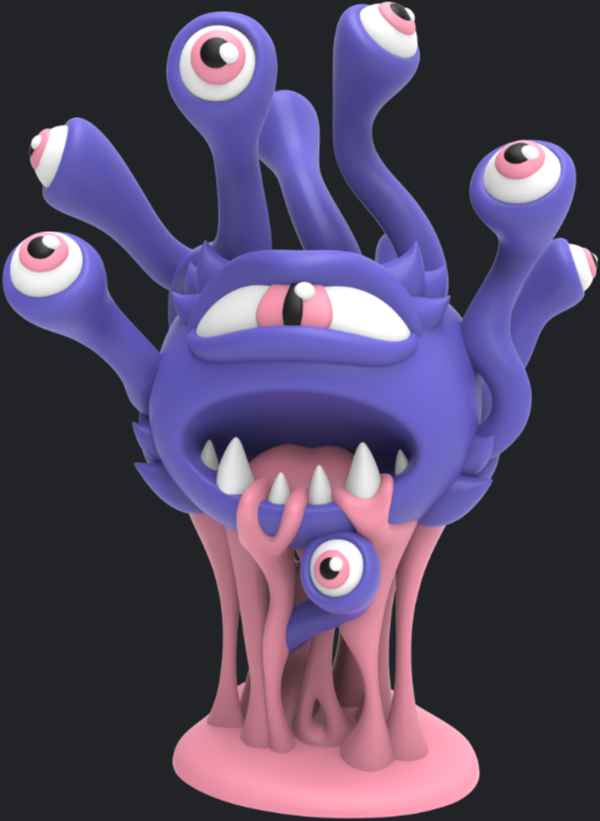
It includes the Beholder, the Dragonborn Paladin, the Mimic and a Skeleton (Patreon bonus). The goal is simple: Print them, see how they behave on your machine, and decide if my style works for you.

Yes! Every mini you unlock will automatically get saved to your personal library on MyMiniFactory. Even after you unsubscribe. To access your files on MyMiniFactory, simply create an account with the same email you use for Patreon.

If you’re a physical print seller, check out the Merchant Tier on Patreon. This will grant you a Commercial license to sell physical prints, 50% off archived models, the Authorized Seller badge and access to the Merchant-only Discord channel.

File redistribution is strictly prohibited, always.
VR Sculpting

I sculpt my minis in Gravity Sketch using VR, then use Fusion 360 afterward to prepare and optimize them for printing.

It’s very different from desktop apps like Blender. Naturally there is still a learning curve, but in my opinion it’s much more intuitive and more importantly, way more fun! I highly recommend trying it out if you have a VR headset.

Yes, you can! I have many full length timelapses and even a mini Gravity Sketch Course up on my Patreon.

Admittedly this is the #1 question I get on all my social media, so I’m long overdue making a more exhaustive tutorial. I’ve been busy trying to get my Patreon running, but eventually I will, so stay tuned for that!

FAQ