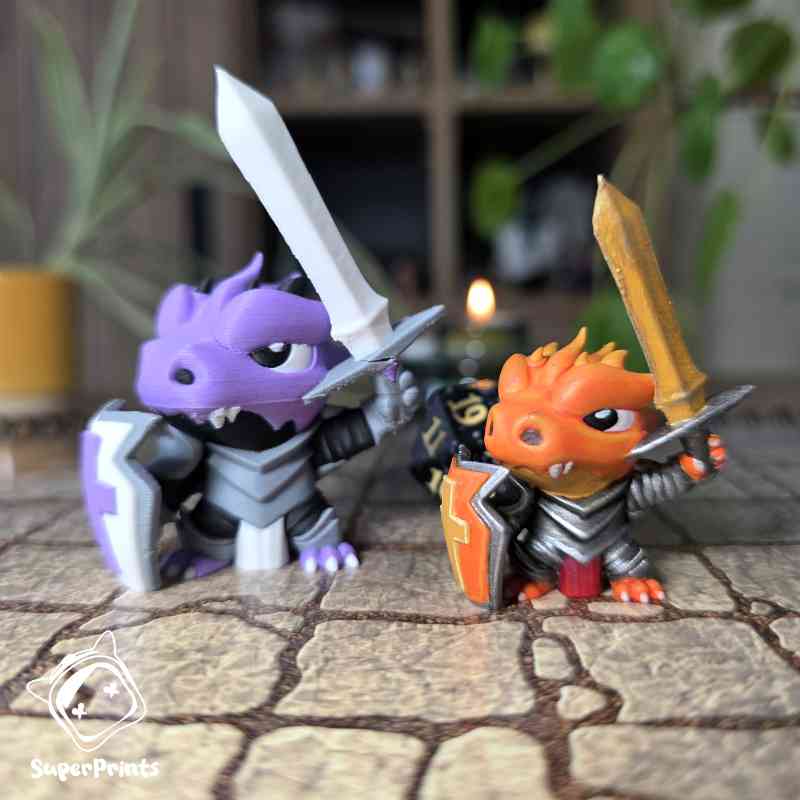
One of the most common questions I get is what settings I use to print my miniatures.
The good news is that my setup really isn’t that complicated. I don’t use an exotic nozzle, absurdly thin layers or some secret slicer profile I’ve spent six months tuning. For most SuperPrints models, I use a completely standard 0.4mm nozzle with a 0.12mm layer height.
My normal starting point looks like this:
|
Setting |
My Recommendation |
|
Nozzle |
0.4mm |
|
Layer height |
0.12mm |
|
Supports |
None |
|
Infill |
Gyroid |
|
Seam |
Nearest |
|
Flushing volume |
0.85 |
|
Filament |
Matte PLA |
SuperPrints files are already configured around these settings in Bambu Studio, so in most cases you can simply open the 3MF file and print it. You shouldn’t need to spend hours tweaking slicer settings before every miniature.
There are a few situations where I change things, though, especially when printing smaller models or miniatures that were originally designed for resin.
What FDM Printer Do You Need for Miniatures?
You don’t need an expensive printer to get good FDM miniatures anymore.
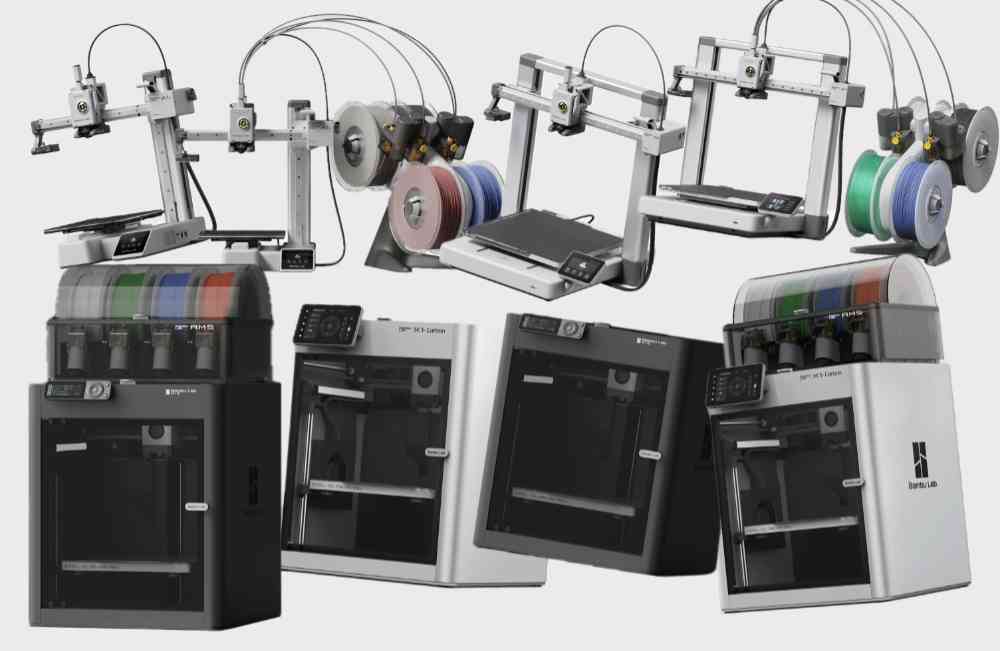
Modern consumer printers have become incredibly capable, and for SuperPrints I’ve primarily used Bambu Lab machines because they’re reliable, easy to use and require very little tuning. That’s especially useful for miniatures, because I’d much rather spend my time designing models than constantly calibrating a printer.
All Bambu printers produce the same excellent print quality, from the inexpensive A1 Mini to their high-end machines. Spending more money mainly gets you additional features: larger build volumes, enclosed printers, different multicolor systems and, at the higher end, toolchanging or multi-nozzle setups.
The differences mainly come down to convenience features like:
I’ve also had good experiences with other brands. Prusa has a very strong reputation for reliable printers, while the Snapmaker U1 is a particularly interesting option if you want multicolor printing with a toolchanger.
What About Toolchanging Printers?
If multicolor printing is important to you, toolchanging printers are particularly interesting. Instead of sending several filaments through one nozzle and purging material during color swaps, they use multiple print heads. That can dramatically reduce waste and print time.
This technology is still fairly new, but there are currently three toolchanger printers worth looking at:
- The Bambu Lab H2C: Currently the best multicolor printer on the market, but also very expensive.
- The Snapmaker U1: An incredible machine, especially for the price. Super fast, wasteless printing and quality comparable to Bambu printers. The downside is that it’s not as plug-and-play as Bambu printers and Snapmaker still has to prove itself to be a reliable brand. The slicers are more complex and filament swaps take a bit more effort. But if you’re (even a little bit) comfortable tinkering with 3D printers, I cannot recommend this printer enough.
Video: https://www.youtube.com/shorts/2i6tw0QdcfE. - The Prusa Core One + INDX 8-tool: The newest in the toolchanger lineup. I haven’t been able to test it out myself, but Prusa is generally one of the best 3D printing brands out there. Also, this printer can print not 4, not 5 but 8 colors at once!
You absolutely don’t need a toolchanger to print miniatures, though. For single-color printing, even relatively simple modern FDM printers are already extremely capable.
And if you’re using a single-nozzle multicolor system, there are several ways to reduce purge waste. I cover those separately in another article: ‘How to Print Multicolor FDM Miniatures Without Wasting a Ton of Filament‘.
Should You Use a 0.4mm or 0.2mm Nozzle?
This is probably the setting people are most surprised by.
For SuperPrints, I use a completely standard 0.4mm nozzle.
You’d think miniature printing automatically requires the smallest nozzle possible, but that really depends on how the model was designed. My miniatures are sculpted around the limitations of FDM from the beginning, so the important details are large enough and shaped in a way that a 0.4mm nozzle can actually reproduce them.
For my models, a 0.4mm nozzle gives me a really good balance between detail, speed and reliability.
That doesn’t mean 0.2mm nozzles aren’t useful. If you’re printing a miniature that was originally designed for resin, I’d generally start with a 0.2mm nozzle. Resin models often use much thinner details, tiny weapons and smaller surface features, so the narrower nozzle gives you a better chance of reproducing them.
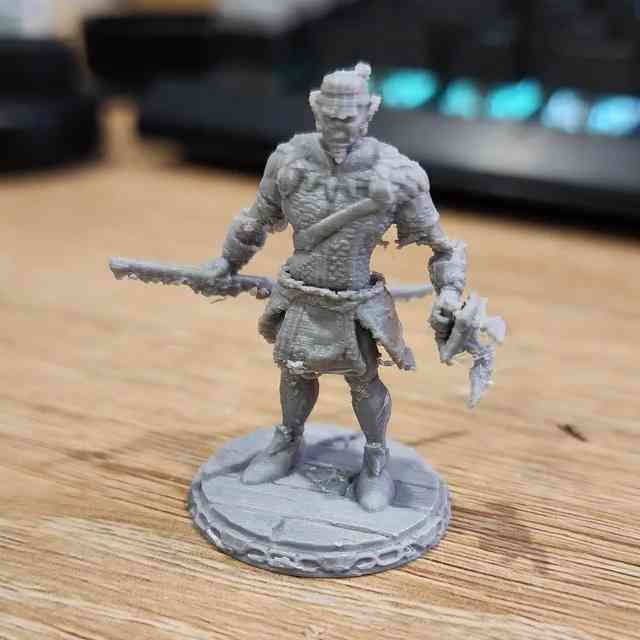
You’ll probably still need supports, and some extremely thin details simply may not translate to FDM, but modern printers can get surprisingly good results. I also use a 0.2mm nozzle when I want to print my own models significantly smaller.
Can You Print SuperPrints at 28mm or 32mm Scale?
Yes. SuperPrints are designed at 40mm scale because I’ve found that works particularly well with a standard 0.4mm nozzle. It gives me enough room for clean facial features, weapons and other details while still fitting comfortably onto a normal tabletop grid.
But I’ve experimented quite a bit with scaling them down. At around 75% scale, using a 0.2mm nozzle and 0.08mm layer height, they end up around traditional 28/32mm miniature scale depending on the model.
And honestly, I was surprised by how good they looked. Even at that size, the smaller nozzle retained a lot of the details, and in some cases the results looked better than I expected from FDM at that scale. So if you prefer smaller traditional tabletop miniatures, that’s the setup I’d start experimenting with.
For normal SuperPrints at their intended size, though, I still prefer the simplicity of a 0.4mm nozzle.
What Layer Height Should You Use?
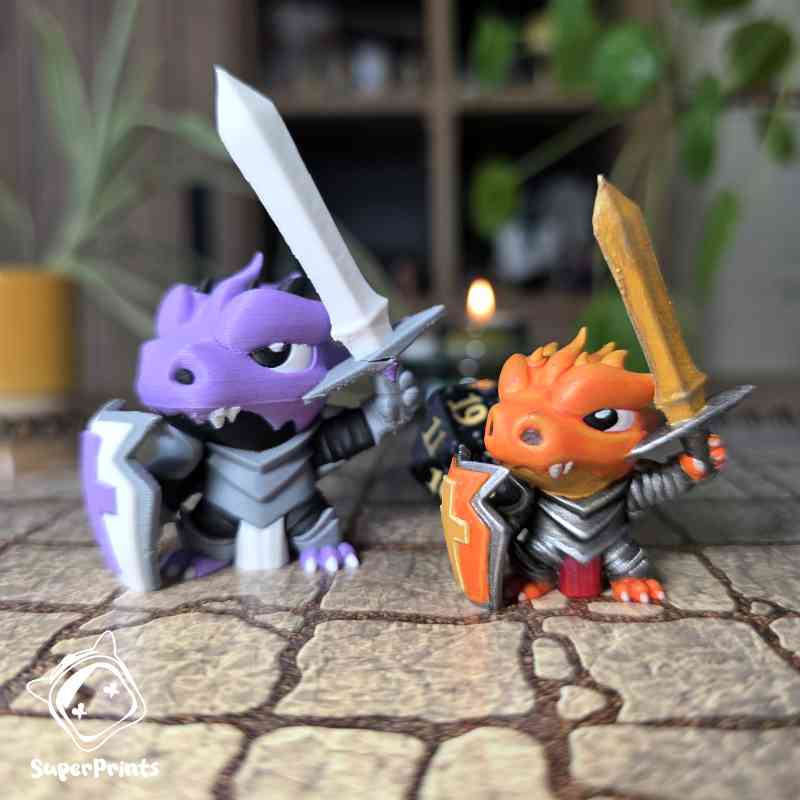
For my normal 0.4mm setup, I use a 0.12mm layer height. I’ve found that to be the sweet spot between print quality and print time. Going to thinner layers can make curves smoother and layer lines less noticeable, but it also makes the print take longer.
When I’m using a 0.2mm nozzle for smaller miniatures, I usually drop to around 0.08mm layer height or lower.
You can obviously experiment beyond that, but I wouldn’t obsess over chasing the smallest possible layer height. At some point you’re doubling your print time for an improvement that’s difficult to see once the miniature is standing on a table.
What Filament Should You Use for Miniatures?
I use Matte PLA for almost everything. This isn’t because regular PLA doesn’t work. It does. I just think matte PLA looks noticeably better on miniatures because it hides layer lines extremely well.
Glossy filament reflects light directly across the surface, which can make every little layer much more obvious. Matte filament scatters the light instead, so the miniature looks smoother and cleaner straight off the plate.
It’s probably one of the easiest changes you can make if you’re unhappy with the way your FDM miniatures look. You can spend ages changing layer heights and tweaking slicer settings, but sometimes simply switching from a shiny filament to matte PLA makes a surprisingly big visual difference.
I genuinely don’t understand why matte PLA isn’t basically standard practice for FDM miniatures at this point.
What About Supports?
For SuperPrints, I normally use none. That’s not really a slicer trick. The models themselves are designed around printing without supports.
I sculpt the poses and geometry specifically for FDM so that overhangs, weapons, arms, capes and other details can build upward cleanly without needing temporary structures underneath them.
That’s a much bigger subject than a settings article needs to become, so I’ve written a separate guide about how support-free miniature design actually works.
My Recommended Starting Point
If you’re new to FDM miniatures and you’re printing a model that’s actually designed for FDM, I really wouldn’t overcomplicate it. Start with:
0.4mm nozzle
0.12mm layer height
Matte PLA
For SuperPrints, leave supports off and use the configured 3MF file as your starting point. Then actually print something before you start changing ten different settings.
If you want to print much smaller, try a 0.2mm nozzle and 0.08mm layers. If you’re printing a miniature originally made for resin, I’d also lean toward 0.2mm to give those smaller details a better chance.
But you don’t need extreme settings to get good FDM miniatures. A standard printer, standard nozzle and sensible layer height can already produce excellent results when the miniature itself has been designed with FDM in mind.