FDM 3D printers have come a very long way. Not that long ago, if you wanted detailed tabletop miniatures, resin was basically the obvious choice. FDM printers were great for terrain, props and larger models, but tiny faces, weapons and other miniature details were a different story.
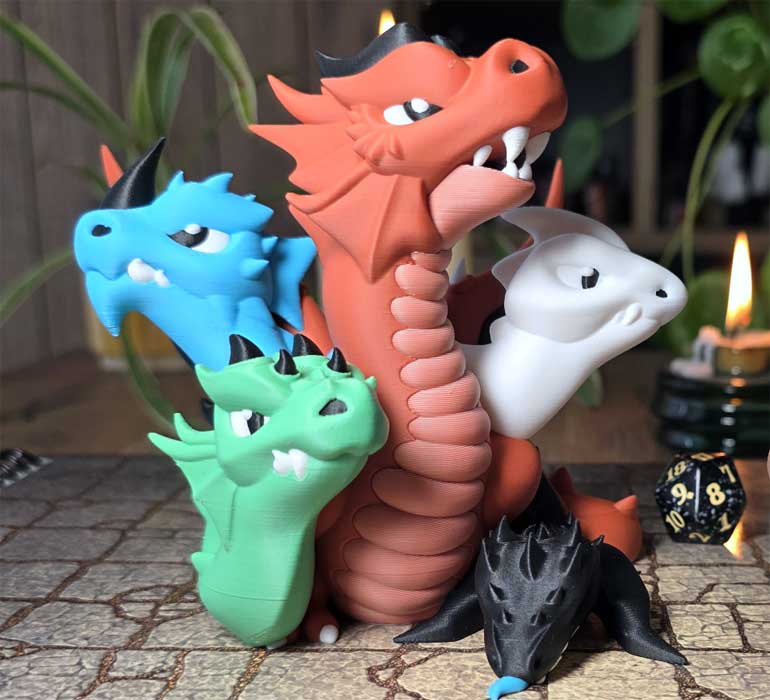
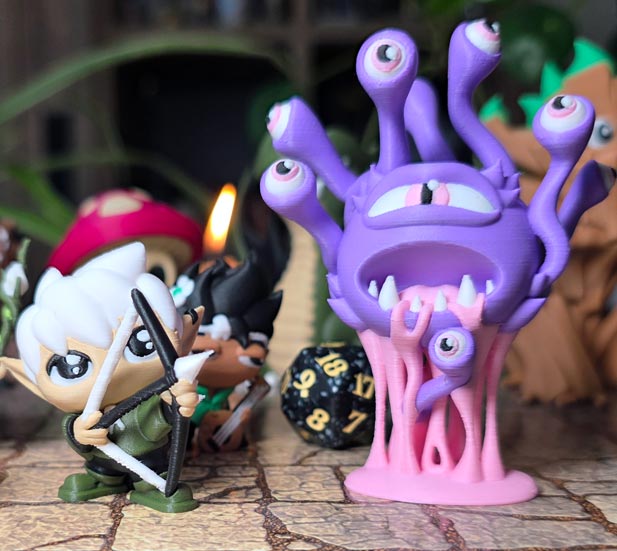
That’s changing. Modern FDM printers can produce surprisingly detailed tabletop miniatures, including multicolor miniatures that don’t even need painting.
But there’s a catch: The printer isn’t the whole story. The design of the miniature itself matters enormously.
In this guide, I’ll go through everything you need to know about FDM miniatures: choosing the right models, picking a printer, nozzle and layer height, multicolor printing, scaling, bed adhesion, filament, and the settings I use to print my own miniatures.
And I’ll be transparent about where my own models fit into all of this.
What Are FDM Miniatures?
FDM stands for Fused Deposition Modeling. Instead of using liquid resin, an FDM printer melts plastic filament and deposits it layer by layer to build an object.
For miniatures, the most common material is PLA. FDM has traditionally been considered inferior to resin for highly detailed miniatures because the nozzle is physically larger than the tiny features a resin printer can reproduce.
But modern FDM printers have become extremely capable. With the right printer, nozzle, layer height, filament, slicer settings, and, most importantly, 3D model you can get excellent tabletop miniatures from FDM.
There are also some major advantages. FDM printers are generally easier to use, don’t require handling toxic resin, and PLA prints don’t require the washing and curing workflow associated with resin printing. And finally, FDM printers can print in multiple colors.
The Most Important Thing: Choose an FDM-Optimized Miniature
This is probably the most important section in this entire guide.
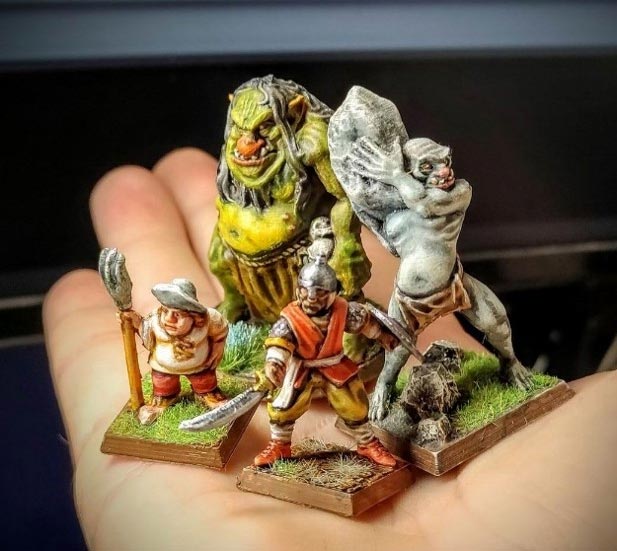
Not all FDM miniatures are designed the same way. A lot of STL files you’ll find online were originally designed with resin printing in mind. You can print many of these models on FDM. But that doesn’t necessarily mean they were designed for it. There is a huge difference between:
- A resin miniature that happens to work on FDM
- And a miniature designed specifically around the limitations and strengths of FDM.
Resin allows extremely tiny details, thin parts and complex overhangs that can be difficult or impossible to reproduce cleanly with FDM. An FDM-focused sculpt needs to take those limitations into account from the beginning.
That means thinking about things like minimum feature size, wall thickness, overhang angles, layer direction, bridging, small weapons and accessories, how the miniature contacts the build plate, where supports would normally be required and how different colors are separated.
This is one of the reasons I design my own miniatures differently from many traditional tabletop sculpts. I don’t design a resin miniature and then try to make it work on FDM. I design around FDM from the beginning. That’s also why my models are generally support-free and multicolor-ready.
And honestly, this is something I’d recommend thinking about regardless of which creator you buy your files from. If you find a creator whose style you love and whose models are specifically designed for FDM, you’ll probably get much better results than trying to force a resin-oriented model through an FDM printer.
What Printer and Settings Do You Need for FDM Miniatures?
You don’t need an expensive industrial printer to get started. Modern consumer FDM printers can produce excellent miniature-quality prints.
For SuperPrints models, my normal starting point is:
|
Setting |
Recommendation |
|
Nozzle |
0.4mm |
|
Layer height |
0.12mm |
|
Supports |
None |
|
Infill |
Gyroid |
|
Seam |
Nearest |
|
Flushing volume |
0.85 |
|
Filament |
Matte PLA |
The fact that I use a standard 0.4mm nozzle tends to surprise people, but if a model is designed properly for FDM, you really can get excellent results from it.
If you’re trying to print a model originally designed for resin, I’d generally start with a 0.2mm nozzle instead. You’ll have a better chance of reproducing the tiny details those models tend to use, although you may still need supports and some extremely thin details simply won’t translate well.
For smaller 28/32mm-scale prints, I’ve also had surprisingly good results printing my own models at around 75% scale with a 0.2mm nozzle and 0.08mm layer height.
If you want the full breakdown of printers, nozzle sizes, layer heights, filament and the settings I actually use:
Do FDM Miniatures Need Supports?
They can. But for miniatures, I think avoiding supports wherever possible makes a huge difference.
Whenever a support structure touches your model, it can leave behind rough surfaces, visible support scars or slightly sagging overhangs. On a large functional print, that might barely matter. On a miniature, that rough patch could be half of someone’s face, the underside of an arm, a cape or an entire weapon.
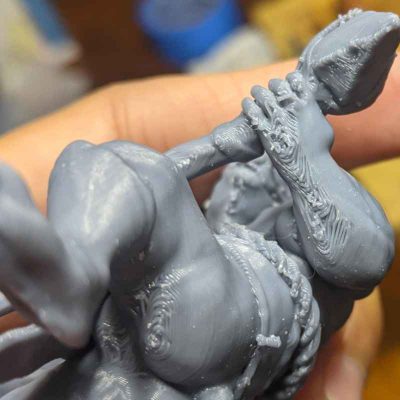
That’s why I think support-free design is especially important for FDM miniatures.
Rather than designing a miniature first and then figuring out where to put the supports, I prefer to design the miniature so the question never needs to be asked. Arms can be raised or lowered, weapons can be tilted, capes can follow the body and small details can be reshaped so every new layer has enough material underneath it.
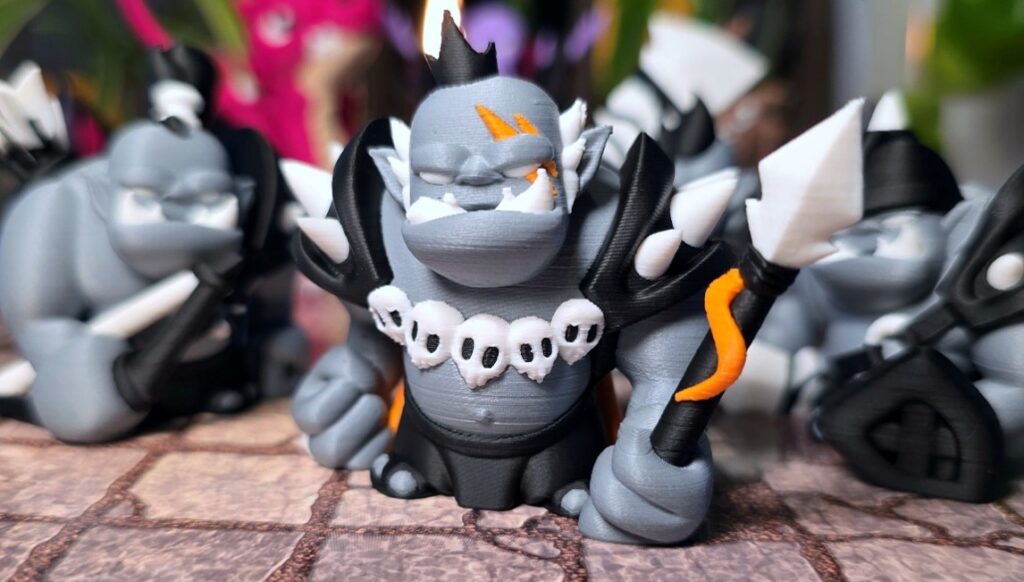
The result isn’t just easier printing. You get no support scars, no awkward sagging underneath overhangs and no tiny support structures to remove from fragile details. Every visible surface is printed as an actual part of the model.
What About Multicolor FDM Miniatures?
This is where FDM gets particularly fun.
With a multicolor printer, you can print a fully colored miniature without needing to paint it. But there is an important distinction between painting colors in the slicer and having the model itself contain separate color geometry.
For SuperPrints, I create the colors as separate geometry. That means you can assign the colors using the Object Tree without needing to use the Paint Tool. Each color has its own physical boundary, which gives much cleaner transitions.
The downside is that single-nozzle multicolor printing creates purge waste every time the printer changes filament. There are ways to reduce that dramatically, though. Printing multiple minis at once spreads the purge waste across all of them, while toolchanging printers can avoid that waste almost entirely.
And if multicolor printing isn’t your thing, you can always print the single-color STL and paint it yourself.
→ Read: How to Print Multicolor FDM Miniatures Without Wasting a Ton of Filament
Why Are My FDM Miniatures Failing?
If a miniature print fails, the first thing I’d check is the build plate.
You can have the perfect model, printer and settings and still end up with a spaghetti monster if the first layer doesn’t stick properly.
My basic routine is simple: avoid touching the print surface, keep the build plate clean, wipe it with IPA between prints and wash it properly with warm water and dish soap if adhesion starts becoming unreliable.
The next thing I’d check is the filament. PLA absorbs moisture over time, and wet filament can cause stringing, inconsistent extrusion, poor surface quality, popping during extrusion and weaker prints.
Most miniature print failures I’ve encountered have been much less mysterious than they first appeared.
→ Read: FDM Miniature Troubleshooting: Bed Adhesion, Wet Filament & Failed Prints
FDM vs Resin Miniatures
FDM and resin are both capable of producing excellent miniatures, but they’re very different manufacturing processes.
Resin still has the advantage when it comes to extremely fine surface detail, tiny features and thin parts. It’s also the format most traditional miniature sculptors design around.
FDM has a very different set of strengths. The workflow is simpler, prints can be tougher and more practical for actual tabletop use, and multicolor printers can produce fully colored models straight off the plate.
So I wouldn’t think of FDM as simply a worse version of resin.
If you’re a painter who wants maximum surface detail, resin remains an excellent option. If you want colorful, playable miniatures with minimal post-processing, modern FDM is becoming incredibly compelling.
There’s quite a bit more nuance to this comparison than I can fit here, though.
What About SuperPrints?
Full transparency: This is the part where I’m obviously going to recommend my own models. But there’s a specific reason I think they’re worth considering if you’re looking for FDM miniatures. Unlike most others, my models are not resin miniatures that I’ve simply made printable on an FDM printer. They’re designed around FDM from the beginning.
Everything I’ve talked about in this guide is what I design SuperPrints around: details that work with real nozzle widths, poses designed to avoid supports, separate geometry for clean multicolor printing, and files configured around settings I’ve actually tested.
The goal is simple: I do all the work, you just press print and get fully finished miniatures, straight off the plate.
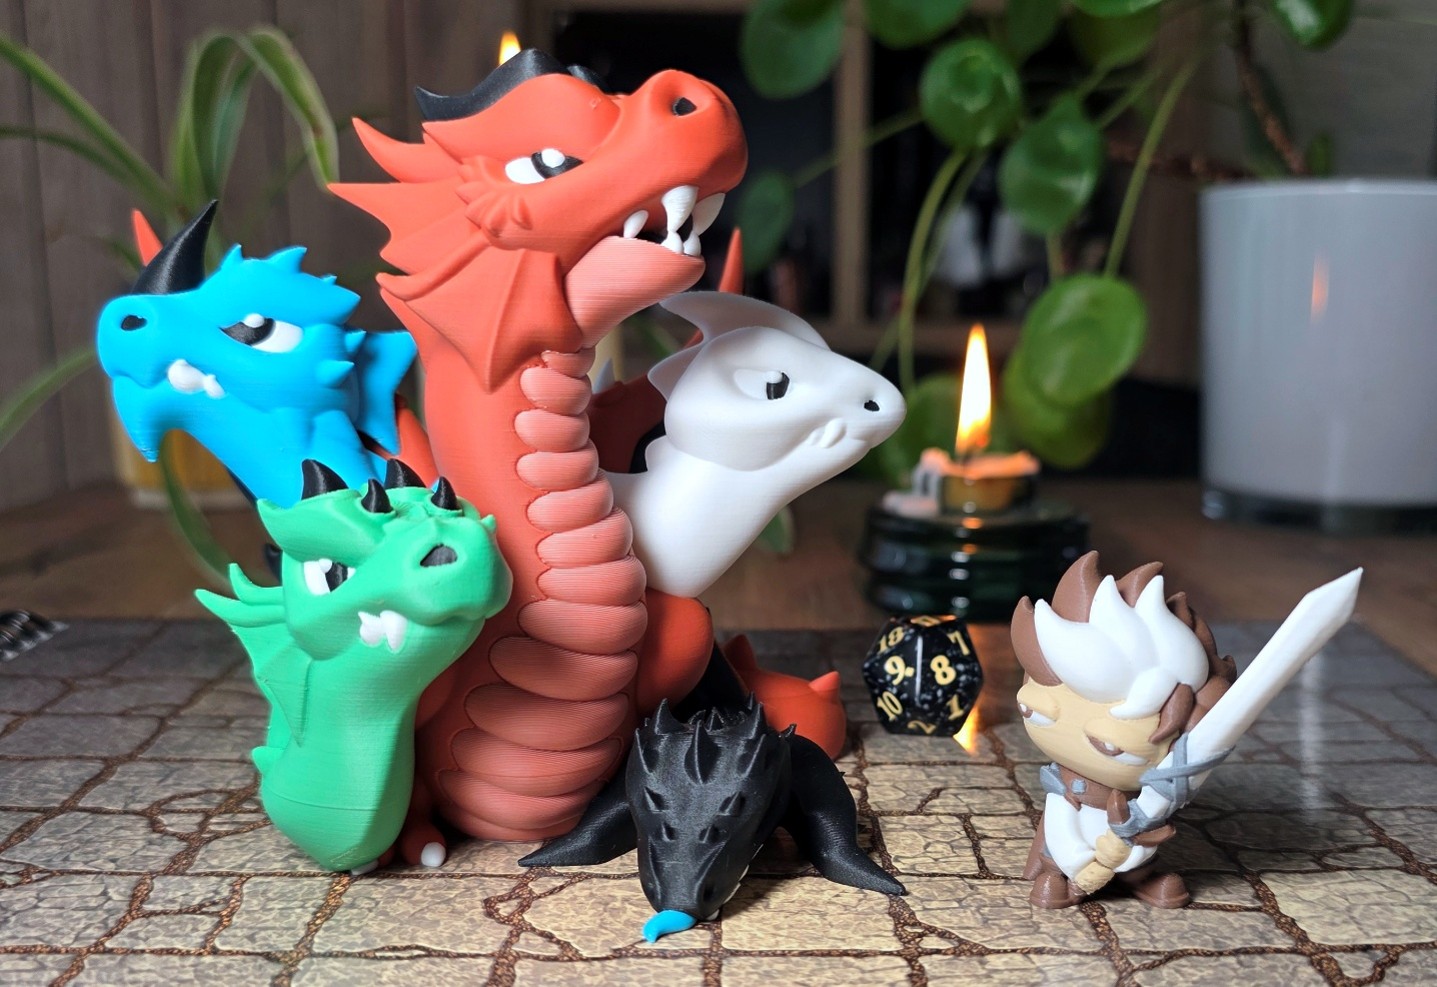
Free minis: Try Before You Commit
Want to see what an FDM-optimized miniature actually looks like on your printer? Download the Free SuperPrints Starter Pack and try them yourself. No special settings, no supports and no commitment.
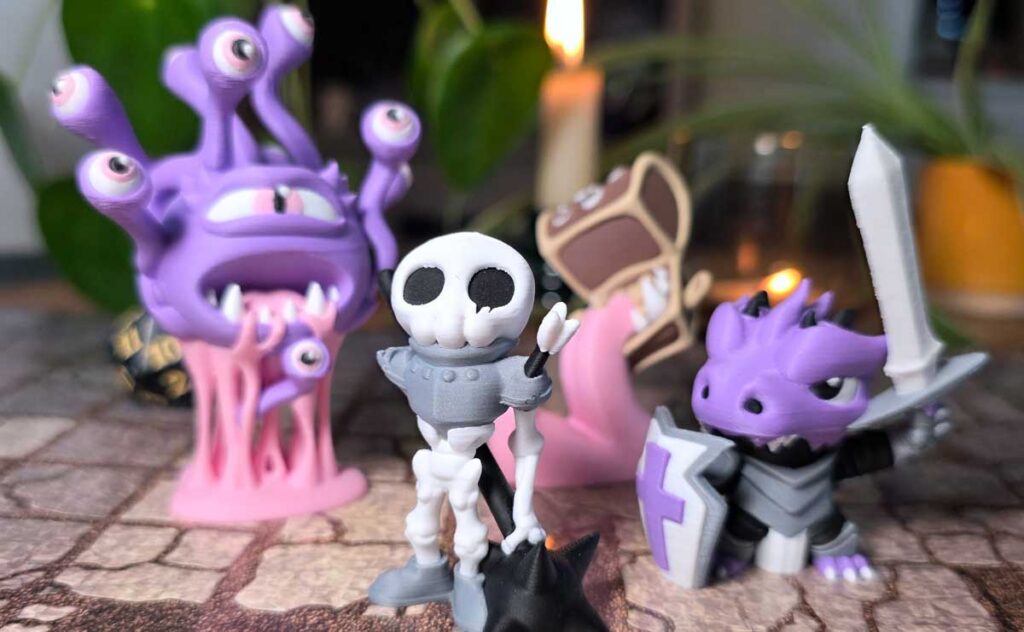
It gives you a handful of SuperPrints models that you can use to test whether they’re right for you. If your printer can handle those, you’ll have a much better idea of what to expect from the rest of the library.
Final Thoughts
FDM miniatures aren’t what they used to be. And honestly, I think we’re still in the early stages of figuring out just how good they can get. The biggest mistake is treating FDM as simply a worse version of resin. It’s a different manufacturing process.
If the minis are designed the right way, you’ll be surprised what an FDM printer can do.