
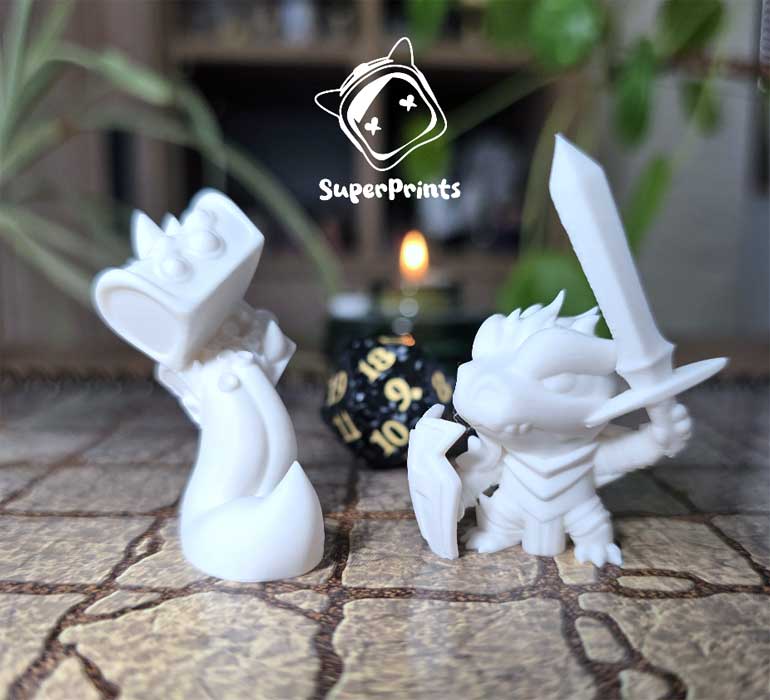
One of my favorite things about FDM miniature printing is multicolor. With the right printer, you can print a fully colored miniature without needing to paint it afterward.
That’s obviously very cool, but it also comes with one pretty big downside: Purge waste.
On a single-nozzle multicolor printer, every time the machine changes filament, it needs to purge some material before continuing with the next color. If you’re printing one small miniature with lots of color changes, that can add up surprisingly quickly.
Luckily, there are a few ways to make multicolor miniature printing much more efficient.
Separate Color Geometry vs Painting in the Slicer
Before getting into waste, there’s one thing that makes a big difference to the final result.
There are two main ways to make a model multicolor:
- Paint the colors onto the model inside the slicer
- Build the colors into the model as separate geometry
For SuperPrints, I use separate geometry. That means each color is an actual part of the model, so you can simply assign filaments using the Object Tree instead of painting the surface by hand.
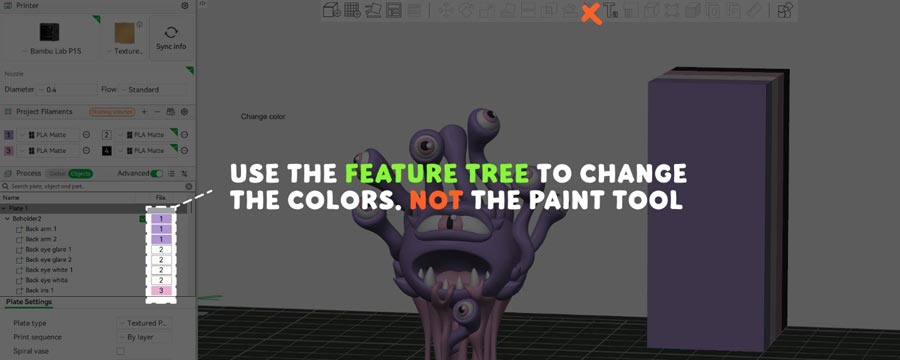
This gives you much cleaner color boundaries. Painting directly in the slicer can work, but it can also produce jagged or inconsistent edges depending on the geometry and how the painted area intersects with the layers.
With separate geometry, the edge between two colors is physically defined in the model itself. For miniatures, where those boundaries might be around an eye, belt, weapon or tiny piece of clothing, that makes a noticeable difference.
Why Does Multicolor Printing Create So Much Waste?
The problem isn’t really the colors themselves. It’s the filament changes.
On a single-nozzle multicolor printer, the same nozzle has to print everal different filaments/colors one after another. When the printer switches colors, the previous filament needs to be flushed out before the new one can print cleanly.
Every one of those changes creates a little purge. A miniature might not use much plastic by itself, but if there are hundreds of filament changes throughout the print, the purge material can end up being surprisingly significant compared to the size of the model.
That’s why the biggest gains usually come from making each set of color changes more productive.
Print Several Miniatures at Once
This is probably the easiest trick. If you’re going to purge filament for one miniature anyway, print several miniatures during the same color cycle.
For example, if you print 10 identical models at once, you’re spreading that same purge process across all 10 miniatures instead of using it for just one.
That can dramatically reduce the waste per miniature. This is especially useful if you’re printing multiples for a game, an army, gifts or commercial sales. If your build plate has the space, filling it can make a lot more sense than printing the exact same miniature one at a time.
Batch Different Miniatures With the Same Color Scheme
You don’t need to print identical models either. If several different miniatures use roughly the same colors, you can put them on the same plate.
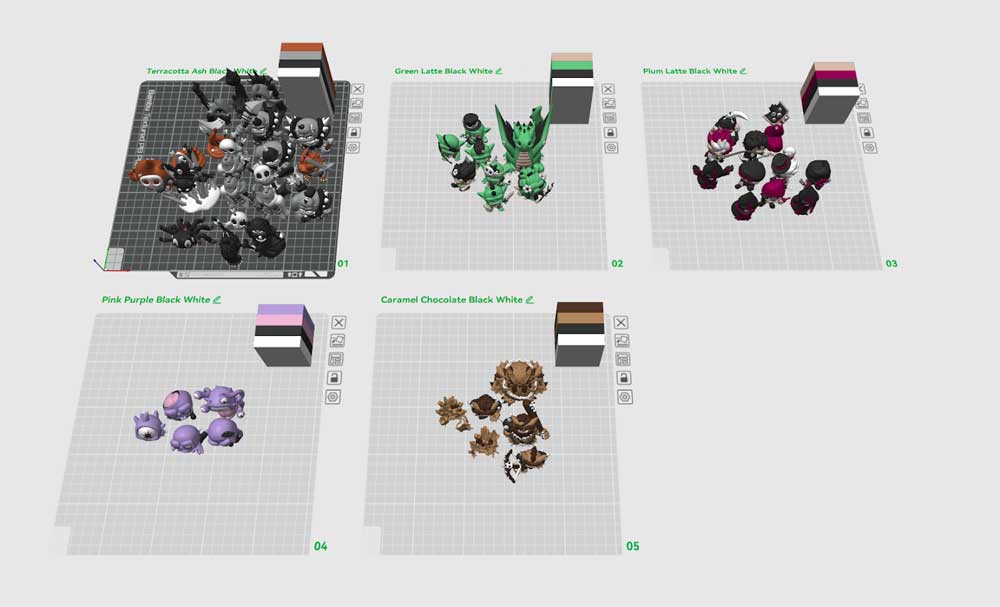
Instead of printing one red-and-black model today, another red-and-black model tomorrow and a third one next week, combine them into one larger batch. The printer still has to perform the color changes, but now several different models benefit from each change.
There is a downside. Longer batch prints are obviously more painful if something goes wrong halfway through. If one miniature fails, you don’t want it ruining the rest of the plate.
Which leads to the next useful trick.
Use Skip Object When Something Fails
On Bambu printers, the Skip Object feature can save a batch print. If one miniature comes loose or starts failing halfway through the job, you don’t necessarily need to cancel the entire plate.
You can tell the printer to stop printing that specific object and continue with the others.
This has saved me more than once. It sounds like a small feature until you’ve got several miniatures halfway through a 12-hour print and one of them suddenly decides it no longer wants to be attached to the build plate. For larger multicolor batches, it makes the whole strategy much less risky.
Further reading: FDM Miniature Troubleshooting: Bed Adhesion, Wet Filament & Failed Prints
Toolchangers Change the Equation
If you’re doing a lot of multicolor printing, toolchanging printers like the Snapmaker U1, the Bambu Lab H2C and the Prusa Core One + INDX 8-tool are probably the cleanest solution to purge waste. Instead of constantly loading and unloading different filaments through the same nozzle, a toolchanger uses multiple print heads.
That means far less purging between colors and, in turn, much less wasted filament and much shorter multicolor print times. The downside is obvious: toolchanging printers can be significantly more expensive.
So I definitely wouldn’t say you need one just to print multicolor miniatures. You can still get excellent results with a single-nozzle multicolor system. You just have to be a little smarter about how you arrange your prints.
Or Just Print in One Color
There is another very simple solution to purge waste: Don’t print in multicolor.
SuperPrints also include single-color STL files, so you can print the model normally and paint it afterward if you prefer. And honestly, FDM-designed minis can be surprisingly nice to paint.
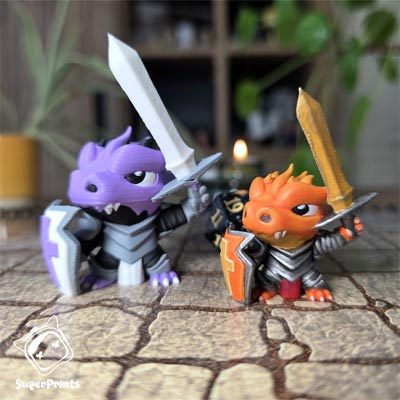
Because the shapes and features tend to be larger and more clearly separated than extremely detailed resin miniatures, you often get very distinct areas to work with.
So if waste is your biggest concern, single-color printing is always an option. Multicolor is fun. It’s not mandatory.
So What’s the Best Way to Reduce Multicolor Waste?
For single-nozzle multicolor miniature printing, my basic approach is:
- Print several minis at once whenever it makes sense
- Combine different models that use the same colors
- Use Skip Object if one model fails during a batch
- Consider a toolchanger if you print multicolor constantly
- Or print single-color and paint the models yourself
You don’t need to do all of these. Even just going from one miniature per plate to several miniatures per plate can make a big difference to how efficient the print feels.
Final Thoughts
Multicolor FDM is never going to be as material-efficient as a normal single-color print when you’re using a single nozzle. There are simply more filament changes involved. But that doesn’t mean every multicolor miniature needs to create a giant pile of purge waste.
Most of the problem comes down to how you use the printer. If you’re already going to make those color changes, make them count. Fill the plate. Batch models intelligently. Save the rest of the print if one model fails. And if you’re printing enough multicolor models that purge waste starts driving you insane, that’s when a toolchanger starts looking very attractive.
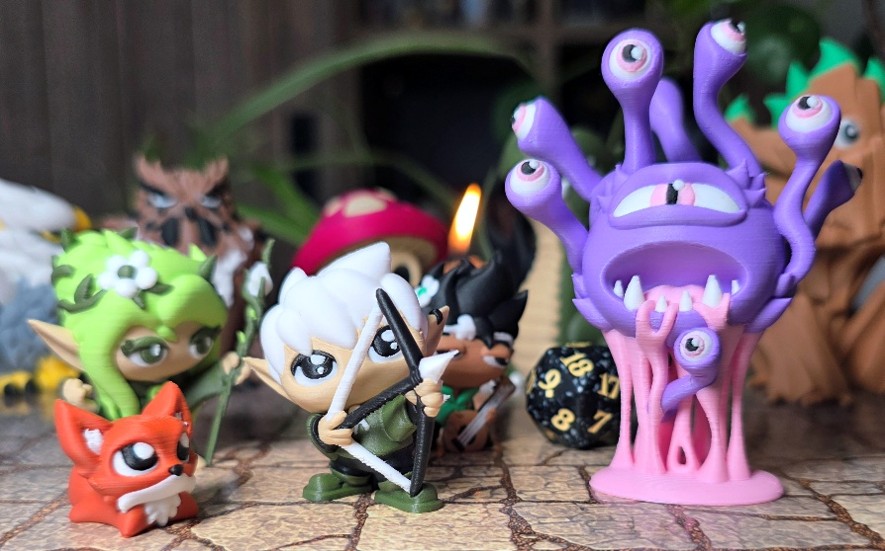
For me, the payoff is still worth it: a fully colored miniature straight off the plate, without picking up a paintbrush.